Backup and restore
Caution
Updating your OS or migrating your instance of Anaconda Server to a new OS architecture can severely impact your Anaconda Server instance! Open a support ticket to get assistance from Anaconda if you plan to take these actions.
Prerequisites
- pg_dump version 9.6.4+
- pg_restore version 9.6.4+
- Linux’s open file maximum must be set to 300,000
To increase the number of files that are allowed to be open at once in Linux, run the following command:
sysctl -w fs.file-max=300000
Backing up Anaconda Server
Follow these steps to back up your instance of Anaconda Server:
Open a terminal and connect to your instance of Anaconda Server. Work with your IT administrator if you need help with this step.
Enter your installer directory.
Using your preferred file editor, open the
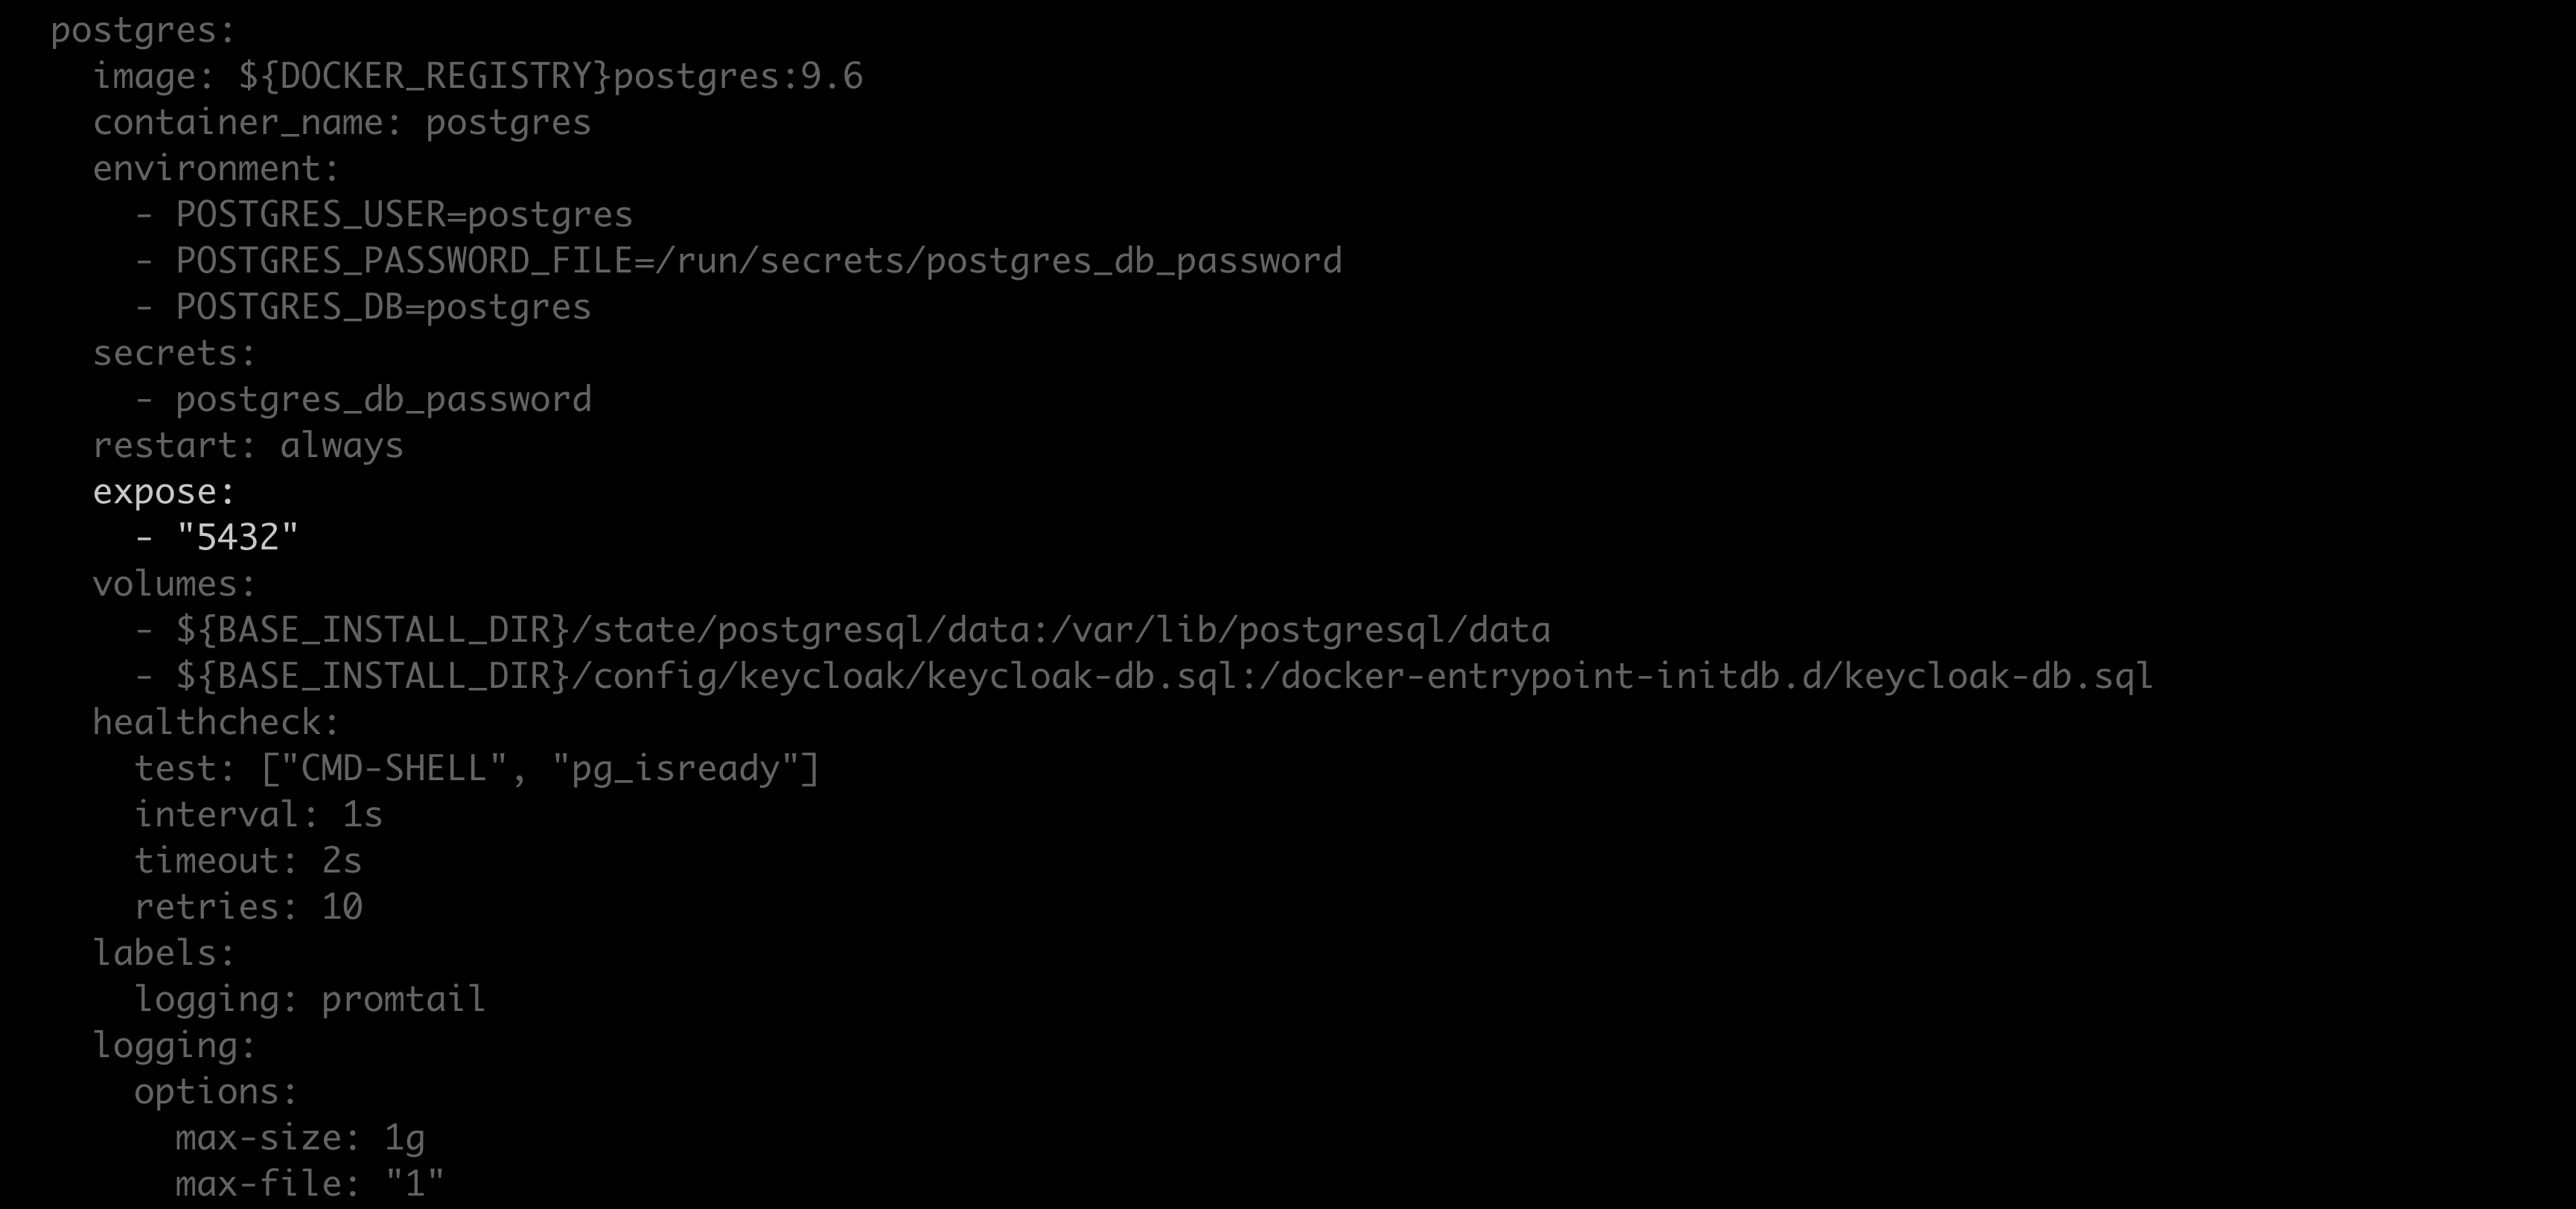
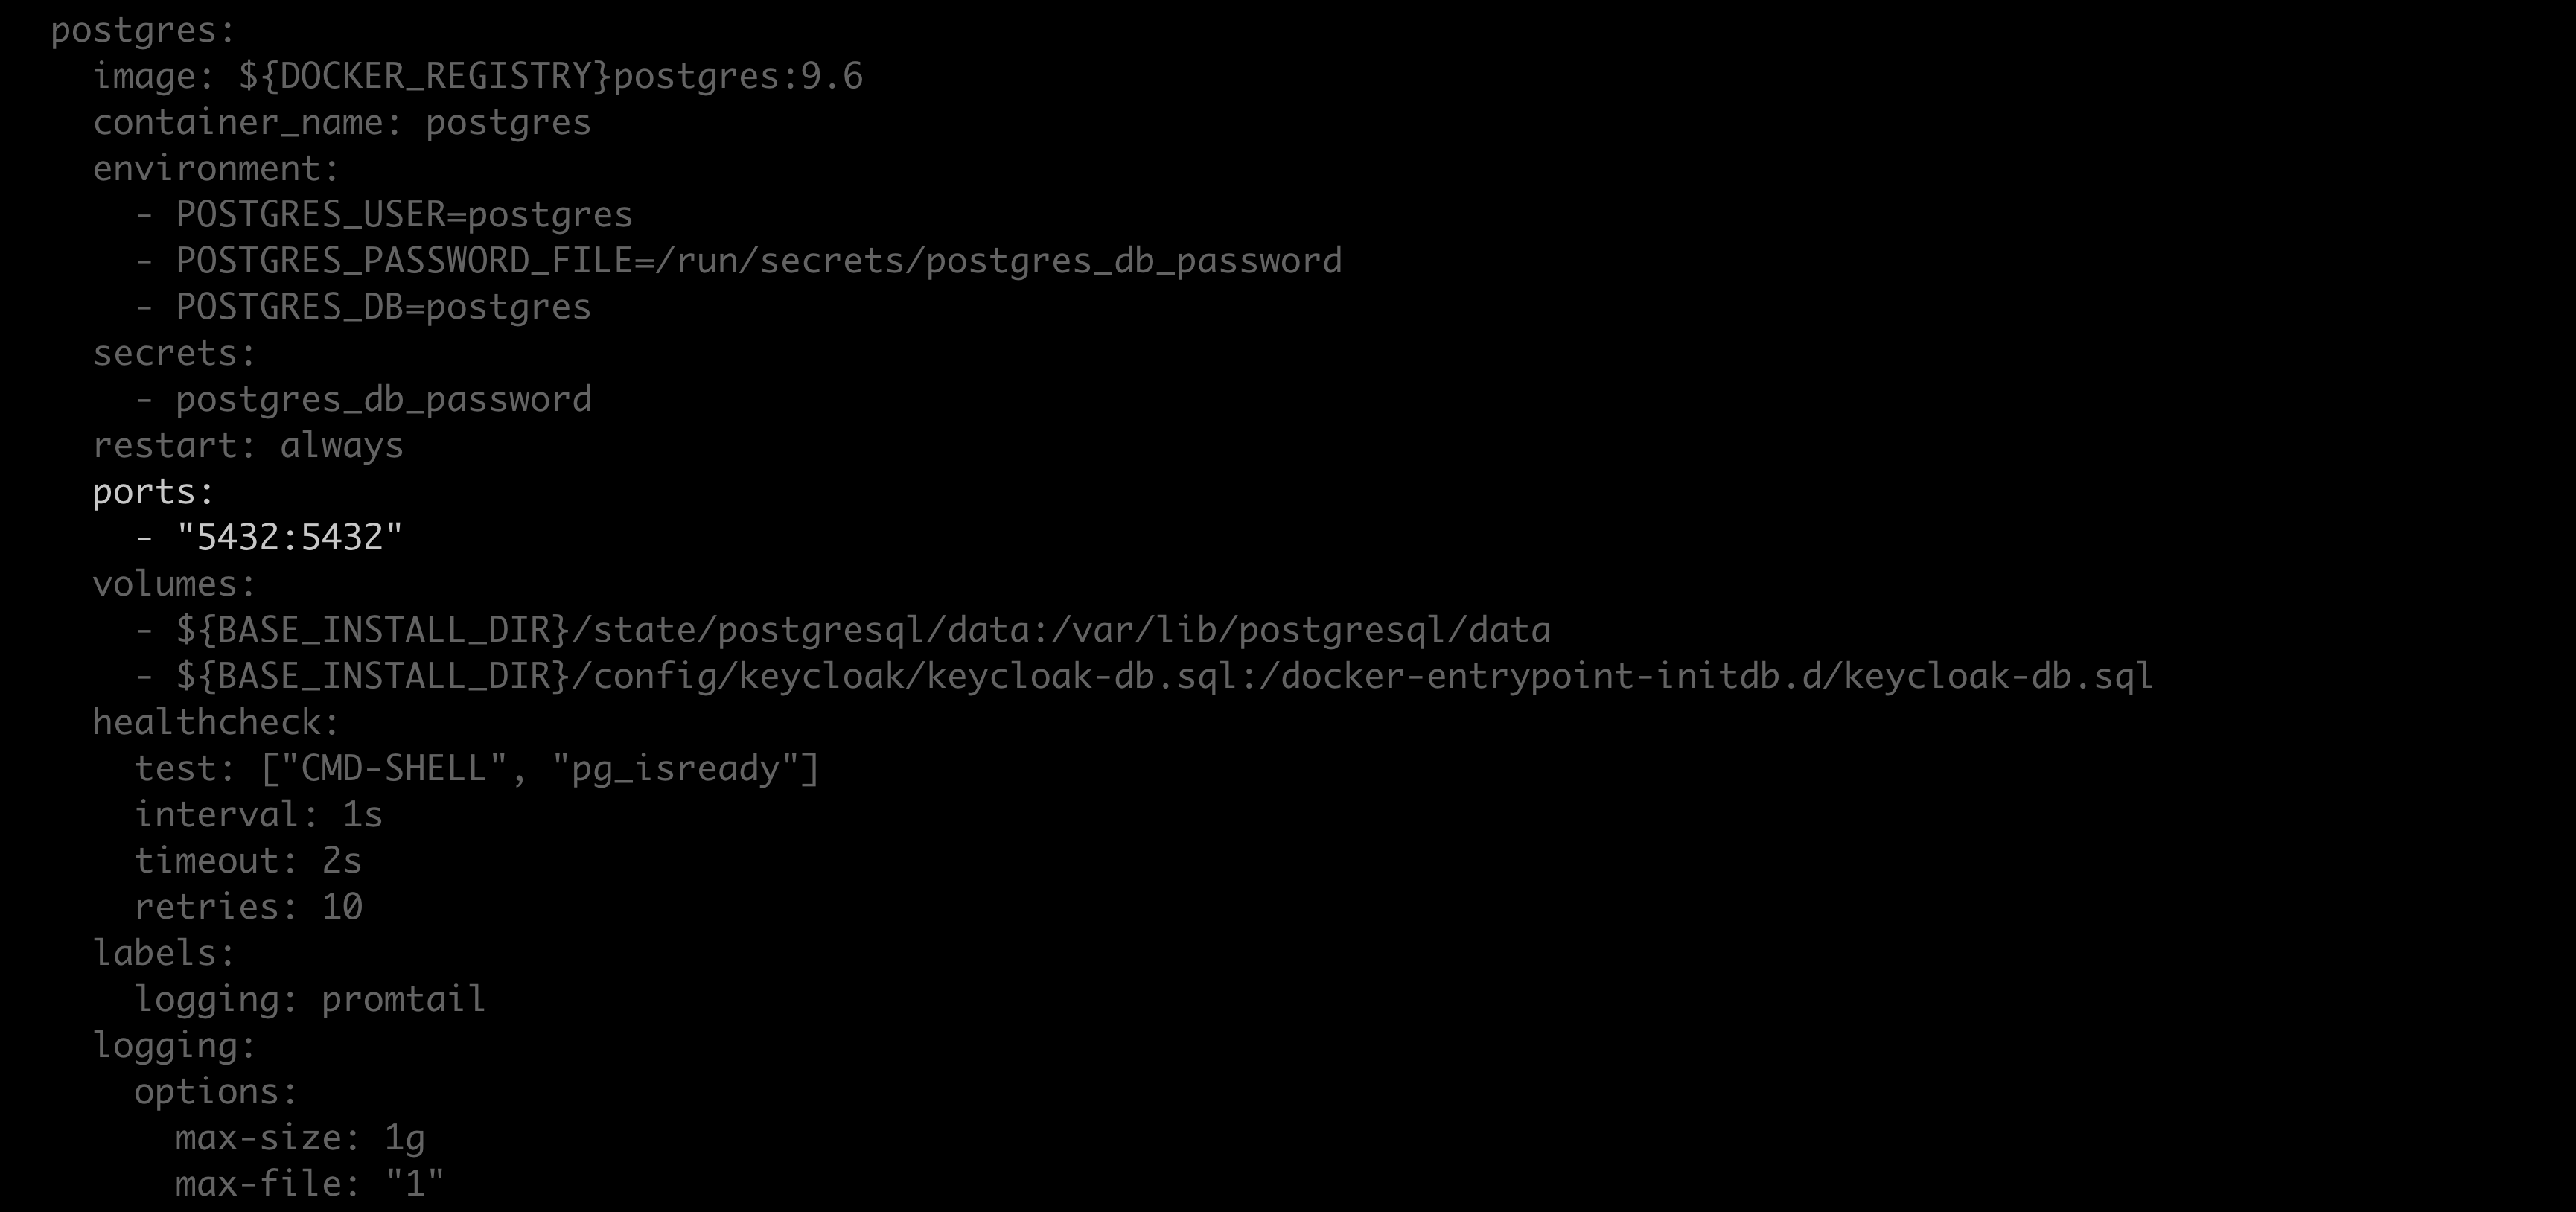
docker-compose.ymlfile.Locate the
Postgres: expose:section of the file.Replace
exposewithports, and replace"5432"with"5432:5432".Save your work and close the file.
Restart your containers by running the following command:
docker compose up -d
Create a backup of the
docker-compose.ymland.envfiles. These files contain your server’s custom configurations and are overwritten during reinstallation.Run the following command from the install directory:
# Replace <POSTGRES_PASSWORD> with your postgres password. You can find your postgres password here: <BASE_INSTALL_DIR>/config/postgres/postgres_db_password.txt
./repo-tools backup --database-uri postgresql://postgres:<POSTGRES_PASSWORD>@localhost:5432/postgres --keycloak-database-uri postgresql://postgres:<POSTGRES_PASSWORD>@localhost:5432/keycloak  --blob-dir /opt/anaconda/repo/state/internal/blobs/ > repo.backup.zip
Save the
repo.backup.zipfile to a secure location.Open your
docker-compose.ymlfile.Revert the changes to the
Postgres: expose:section of the file and restore your server’s custom configurations.Save your changes and close the file.
Open the
.envfile and restore your server’s saved custom configurations.Save your changes and close the file.
Restart your containers by running the following command:
docker compose up -d
Restoring Anaconda Server
Follow these steps to restore your instance of Anaconda Server:
Open a terminal and connect to your instance of Anaconda Server. Get help from your IT administrator if you need help with this step.
Enter your installer directory.
Using your preferred file editor, open the
docker-compose.ymlfile.Locate the
Postgres: expose:section of the file.Replace
exposewithports, and replace"5432"with"5432:5432".Save your work and close the file.
Restart your containers by running the following command:
docker compose up -d
Copy the
repo.backup.zipfile.Run the following command from the install directory:
# Replace <POSTGRES_PASSWORD> with your postgres password. You can find your postgres password here: <BASE_INSTALL_DIR>/config/postgres/postgres_db_password.txt
./repo-tools restore repo.backup.zip --database-uri postgresql://postgres:<POSTGRES_PASSWORD>@localhost:5432/postgres --keycloak-database-uri postgresql://postgres:<POSTGRES_PASSWORD>@localhost:5432/keycloak --blob-dir /opt/anaconda/repo/state/internal/blobs/
Open your
docker-compose.ymlfile.Revert the changes to the
Postgres: expose:section of the file and restore your server’s custom configurations.Save your changes and close the file.
Open the
.envfile and restore your server’s custom configurations.Save your changes and close the file.
Run the following in the install directory:
docker compose up -d repo_api


